Tutorial : Making A Step-and-Repeat with Adobe Illustrator's Pattern Tool
Making a Step-and-Repeat is incredibly easy and with Illustrator's Pattern tool, you can save yourself from a lot of copying and pasting.
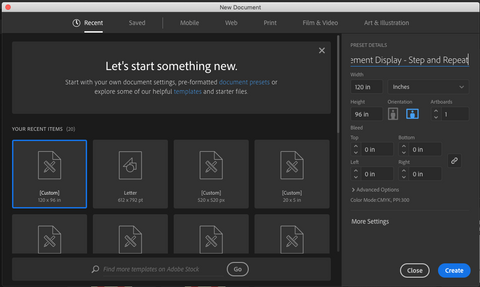
1. Set up your document
As with all designing, it's important to be working with the correct document size as changing the size later can result in a lot of extra work.
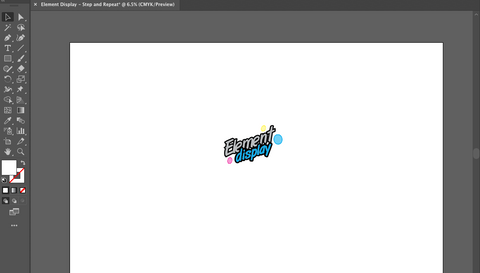
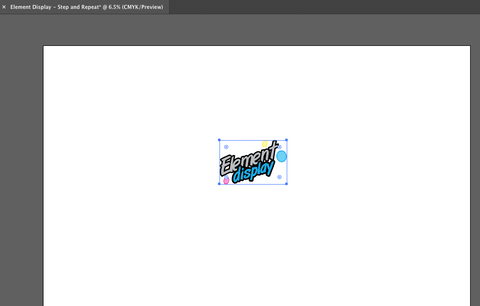
2. Place the logo you want to use into your document
Place and scale the logo to the approximate size you want it to be and select it.
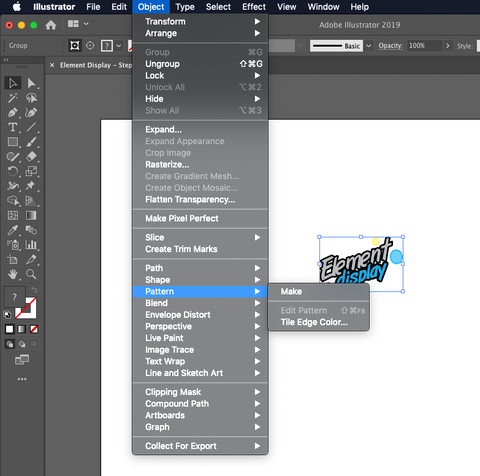
3. Make it into a Pattern
To find this tool, go to Object > Pattern > Make. The pattern tool panel will pop up, where you'll be able to modify the pattern.
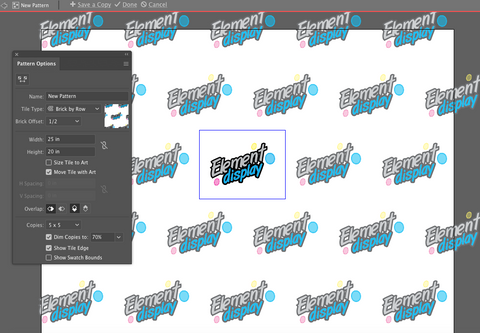
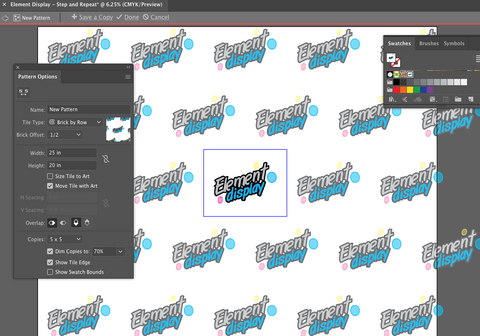
4. Add Spacing and Tile Type
Here you can change how the pattern tiles. Most step-and-repeats will use the 'Brick by Row' option. To add more spacing between the logos, change the width and height.
Here you can also change the number of copies, but this is more for preview purposes and will not affect the end pattern.
Once you're done making the changes, click the 'Done' button in the top left corner.
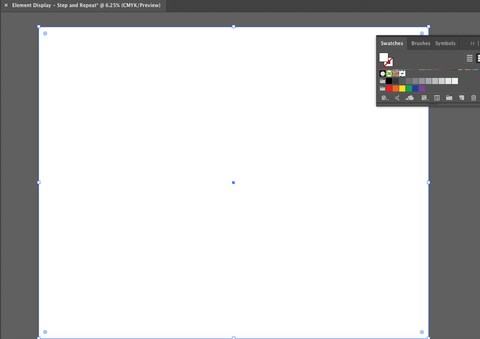
5. Apply the Pattern
We no longer need the logo in our document. Go ahead and delete this.
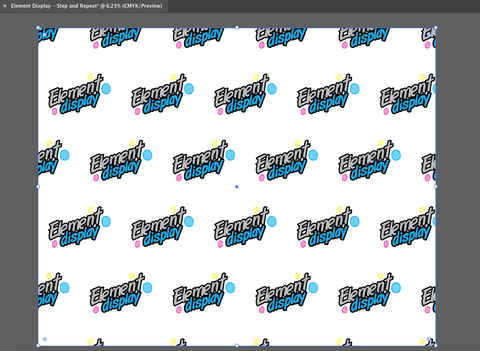
Now make a rectangle the size of our artboard. To apply the pattern, go to the Swatches panel and select your pattern.
6. Edit as Necessary
To make any changes to your pattern, just double click on the pattern swatch to return to the Pattern panel.
You're Done!
Using this method, instead of copying and pasting also makes it easier to switch up logos or make edits to spacing later if necessary.